Outpost Quickstart: Docker with RabbitMQ or AWS SQS via LocalStack
Local Docker setup for Outpost using Docker Compose. This setup includes:
- Outpost services (API, delivery, and log processors). See the architecture for more details.
- Redis as KV and entity storage
- PostgreSQL as log storage
- RabbitMQ or AWS SQS via LocalStack for message queuing
Prerequisites
Setup
-
Clone the Outpost repo:
sh -
Navigate to
outpost/examples/docker-compose/:sh -
Create a
.envfile from the top-level example file:
sh
-
Update the
$API_KEYvalue within the new.envfile. -
There are two options to run Outpost locally for this quickstart. Choose one of the following:
- With RabbitMQ:
sh- With SQS via LocalStack:
sh
Verify Installation
You can use shell variables to store the tenant ID and API key for easier use in the following commands:
sh
-
Check that the services are running:
shWait until you get an
OKresponse. -
Create a tenant with the following command, replacing
$TENANT_IDwith a unique identifier such as "your_org_name", and the$API_KEYwith the value you set in your.env:sh -
Run a local server exposed via a localtunnel or use a hosted service such as the Hookdeck Console to capture webhook events.
-
Create a webhook destination where events will be delivered to using the following command. Again, replace
$TENANT_IDand$API_KEY. Also, replace$URLwith the webhook destination's URL:sh -
Publish an event, remembering to replace
$API_KEYand$TENANT_ID:sh -
Check the logs on your server or your webhook capture tool for the delivered event.
-
Get an Outpost portal link for the tenant:
shThe response will look something like the following:
jsonThe
tokenvalue is an API-generated JWT.Open the
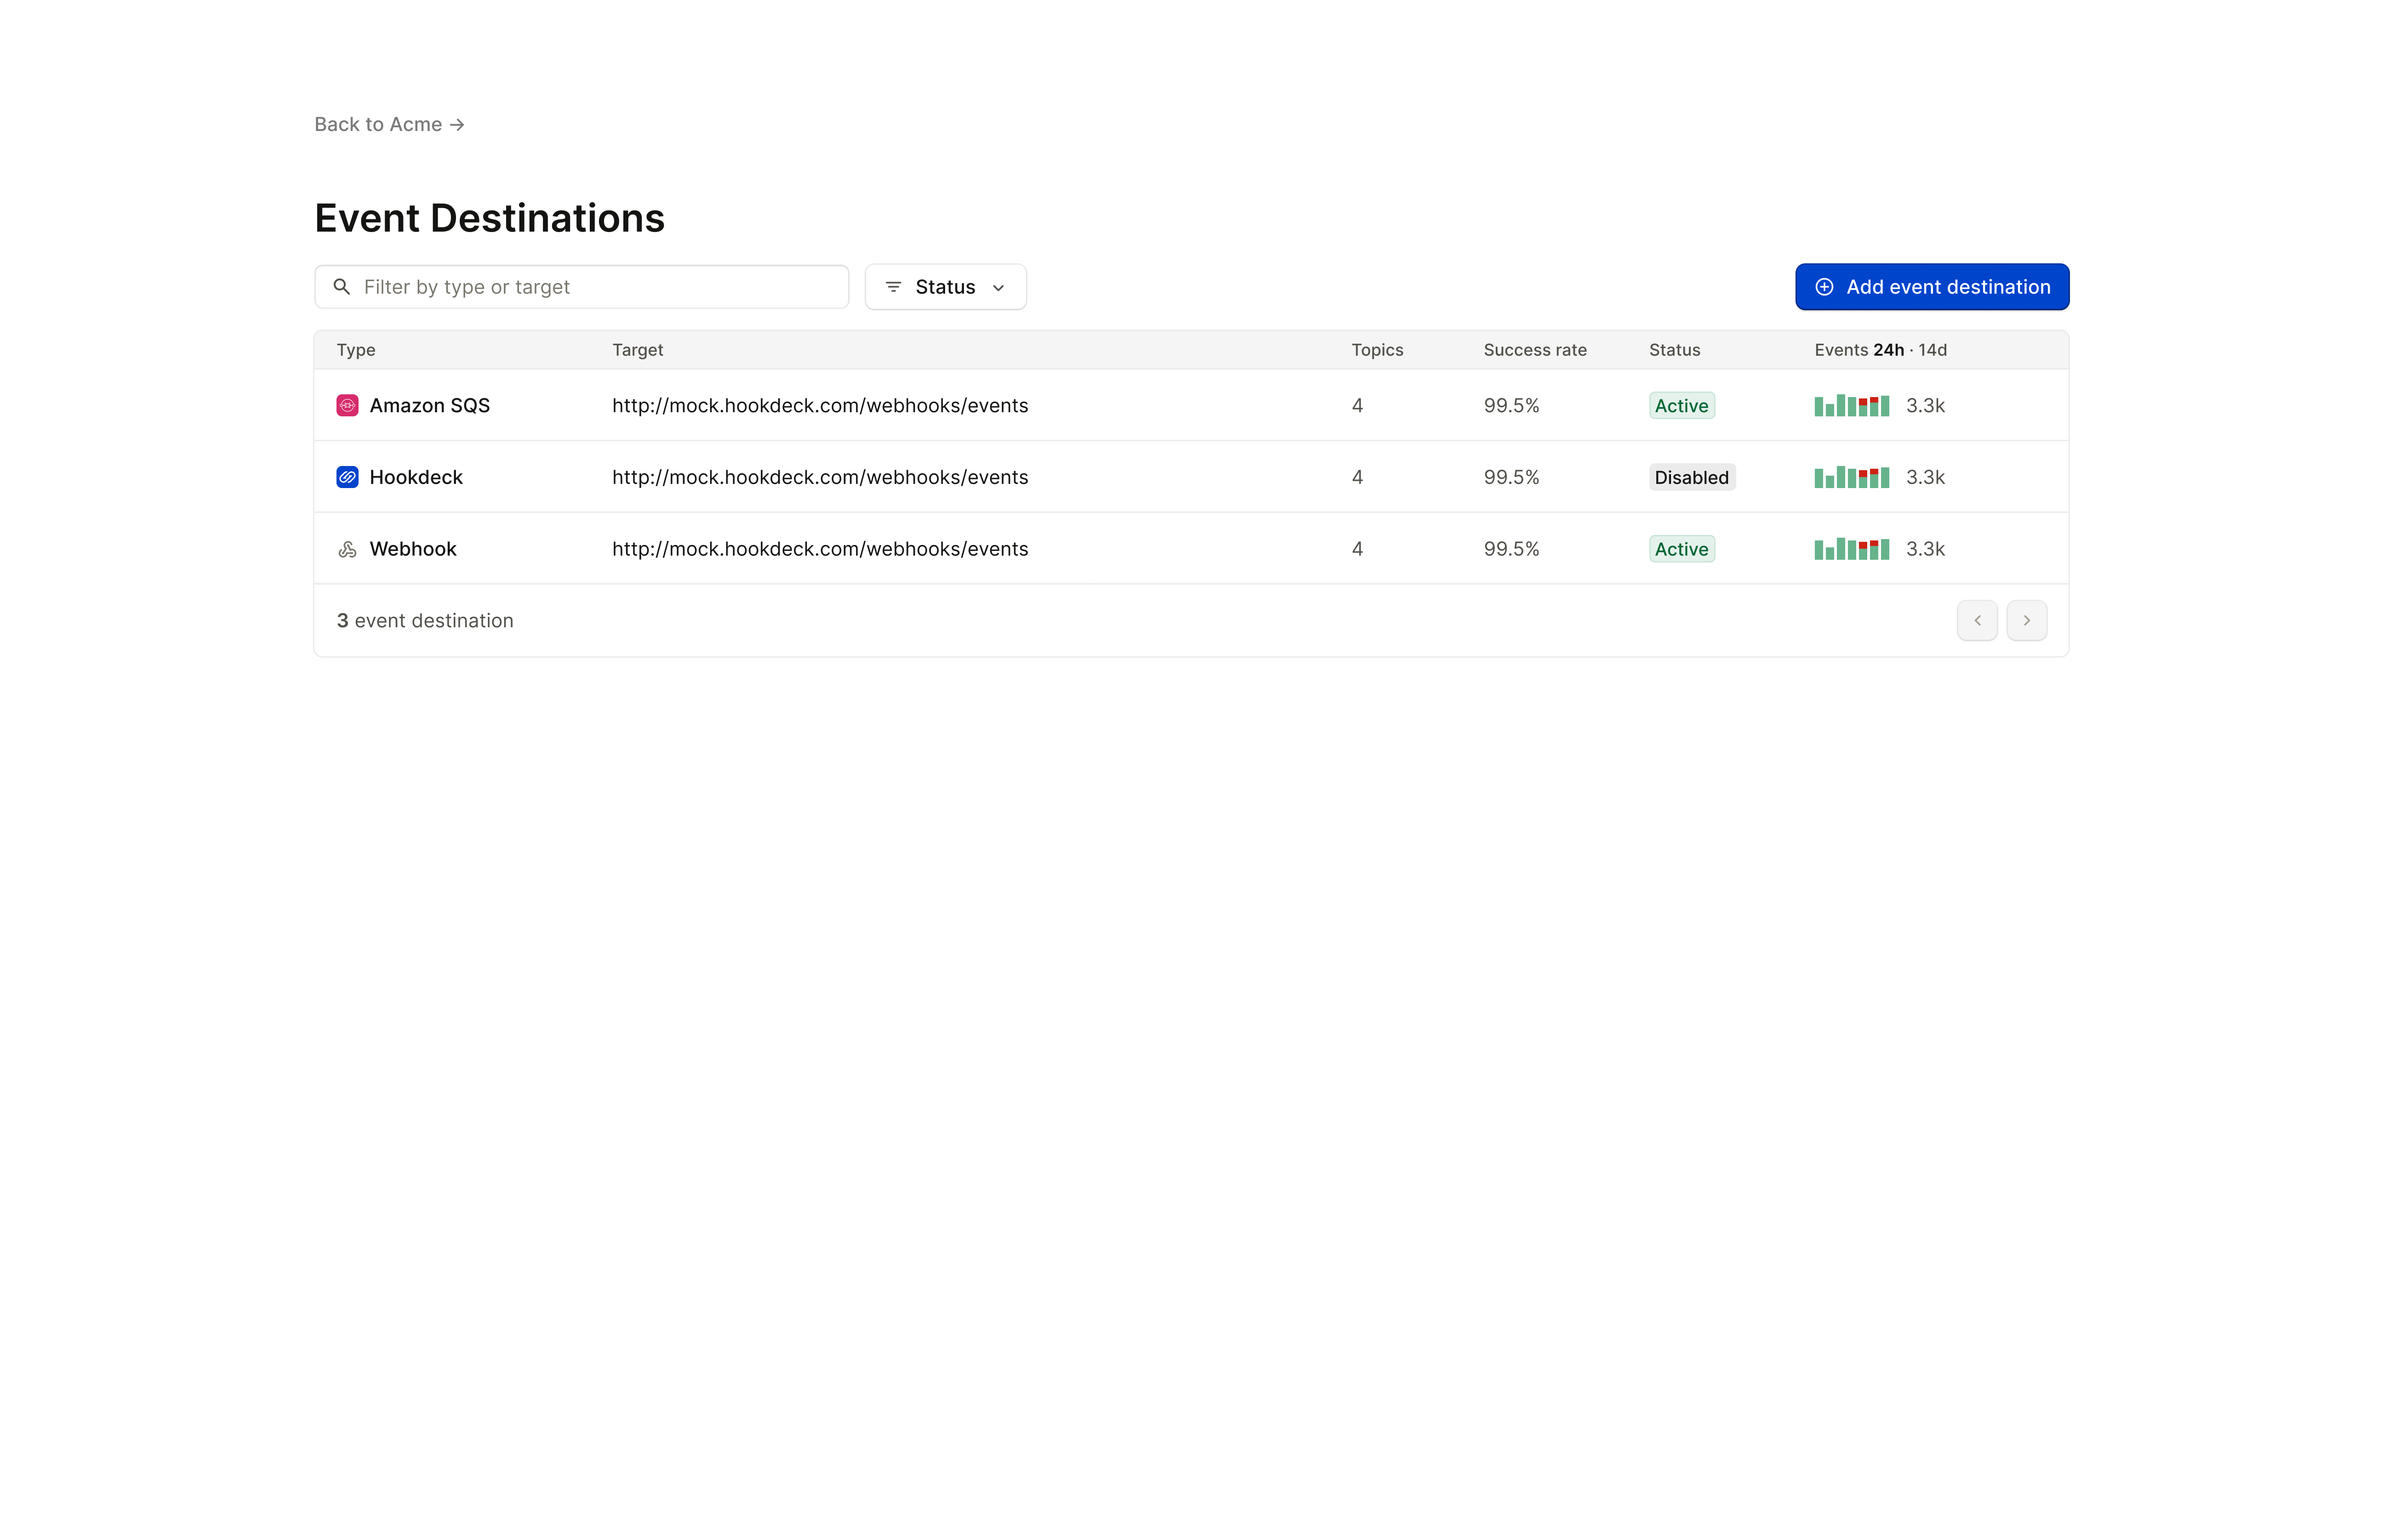
redirect_urllink to view the Outpost portal.
Continue to use the Outpost API or the Outpost portal to add and test more destinations.